Skip to content
The storm has passed. The hail has stopped drumming on your roof. Now what?
If you live in Austin, you know this feeling. That uneasy quiet right after a storm – wondering how bad it really is. Central Texas sits right in the heart of “Hail Alley,” where Gulf moisture and cold fronts collide and produce some of the most intense hail activity in the entire country. Travis County alone sees multiple significant hail events every single year.
Using a solid hail damage roof checklist right after a storm is the single best thing you can do for your home. It protects your family, prevents hidden damage from getting worse, and sets you up for a smooth insurance claim. This guide walks you through every step – clearly, quickly, and without the fluff.
Why Austin Roofs Take Such a Beating
Austin’s storm season peaks between March and June. But fall brings a second round of severe weather too. When hail hits, it doesn’t always leave obvious damage. That’s the dangerous part.
Small hailstones knock granules off shingles. Granules are the rough, sandpaper-like coating that shields your shingles from UV rays and water. Once they’re gone, your shingles age fast. A storm that sounds minor on the roof can shave years off its lifespan.
And here’s something most homeowners don’t realize: functional hail damage and cosmetic hail damage are two different things. Functional damage affects how your roof performs. Cosmetic damage is just appearance. Insurance companies and roofers treat these very differently – and knowing the difference can directly affect your claim payout.
Step 1: Stay Safe First – Don’t Rush Outside
After a storm ends, wait at least 30 minutes before going outside. Lightning can strike even after rain stops. Hail leaves surfaces slippery, and downed power lines may still be alive.
Walk the perimeter of your property and look for immediate hazards. Don’t approach downed utility lines. If you smell gas, leave immediately and call 911 from a safe distance. Avoid standing water – it can conceal sharp debris or even be electrically charged near downed lines.
Once you’re sure it’s safe, start your roof damage assessment.
Step 2: Do a Ground-Level Exterior Inspection
Here’s the rule: never climb on your roof after a storm. Wet shingles are dangerously slippery. Hidden structural damage can make the roof unstable. Let your eyes and a pair of binoculars do the work.
Grab your smartphone. You’ll want photos of everything you find.
Check these areas from the ground:
- Missing, lifted, curled, or cracked shingles on any visible roof section
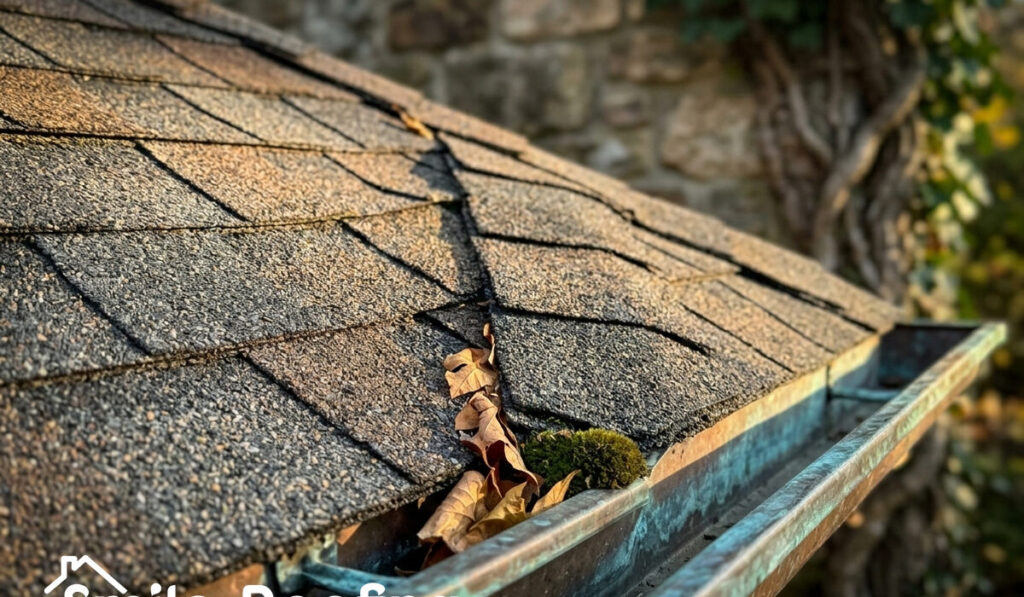
- Dark or discolored patches – these are “hail bruises” where granules have been knocked away
- Exposed black underlayment or raw decking where shingles have blown off
- Ridge cap shingles that look displaced or cracked
- Dented, crushed, or sagging gutters (dented gutters are one of the most reliable indicators of hail size)
- Granules pooling at the base of your downspouts – they look like coarse black sand
- Bent or lifted flashing around the chimney, skylights, or vents
- Cracked window screens, chipped paint, or dents in siding or your AC unit fins
If hail was large enough to leave craters in soft soil or dent your car, your roof almost certainly absorbed impact damage – even if you can’t see it clearly from the ground.
The Hail Damage Roof Checklist: Interior Warning Signs
Does the outside look okay? Don’t stop there. Some of the most costly hail damage shows up on the inside of your home, not the outside.
Start in the attic. Take a flashlight and look carefully at the underside of the roof decking. Water stains, dark streaks, wet or compressed insulation, and active drips are all red flags. On a sunny day, turn the lights off – if you see even a pinhole of daylight coming through the decking, water has a direct path into your home.
Austin’s heat and humidity make this especially urgent. Mold can begin growing in as little as 24 to 48 hours after moisture gets in.
After the attic, walk every room in the house. Look at the ceilings and upper walls for brown, yellow, or gray water rings. Check for bubbling or peeling paint. Pay extra attention to rooms near the chimney, under skylights, or beneath rooftop HVAC equipment – these penetrations are the most common leak entry points after a hail event.
Step 3: Document Everything Before You Touch Anything
This step can make or break your insurance claim. Do it right.
Take wide shots first, then close-ups. If there are hailstones still on the ground, photograph them next to a coin or your hand so the size is clear. Record a video walkthrough – a continuous video is harder to dispute than individual photos.
Screenshot weather alerts or save the storm date from a local news source. The National Weather Service publishes storm reports for Central Texas, and having that documentation ties your damage to a specific date and event. Write down what you found, where you found it, and approximately when.
Save everything. Every photo, every screenshot, every note.
What Hail Does to Different Roof Types
Not all roofs show hail damage the same way. Knowing what to look for on your specific roof type helps you catch things a general inspection might miss.
Asphalt shingles (the most common roof type in Austin) show circular impact marks where granules are missing. The damage often looks like a bruised apple – slightly soft to the touch and darker in color than the surrounding shingle.
Metal roofs are far more resistant to hail, but large stones can leave visible dents or scratch protective coatings. Most metal roof hail damage is cosmetic. However, if the coating is compromised, corrosion can set in over time. Whether your insurer covers it often comes down to the size of the hailstone.
Tile roofs (clay or concrete) can crack or chip near their edges without shifting position. This makes damage easy to miss from the ground. Water gets under cracked tiles and attacks the underlayment below – damage you won’t see until it shows up as a ceiling stain months later.
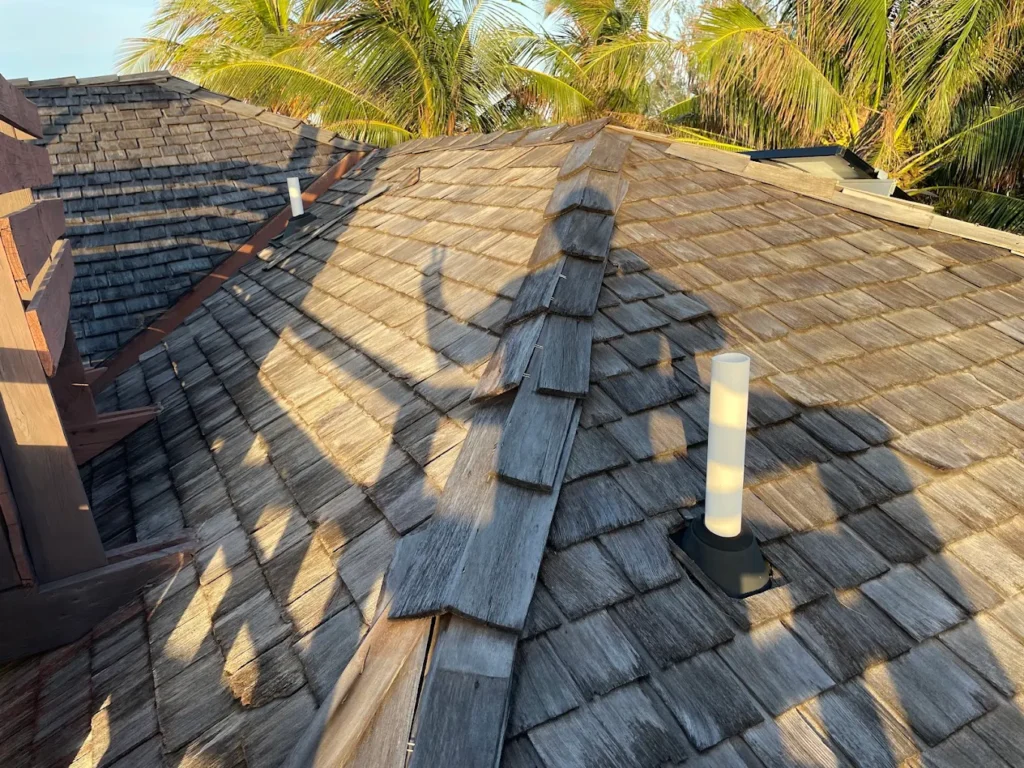
Wood shake roofs are the most vulnerable. Hail splits the wood along the grain. Moisture gets trapped in those splits, and the combination of Austin’s heat and humidity accelerates rot faster than almost any other climate.
Step 4: Make Emergency Temporary Repairs (If Needed)
If there’s active leaking inside your home, you need to act now. Move furniture and valuables away from the leak. Place buckets and towels. Do not use electrical outlets or fixtures near any dripping water.
Most Texas homeowner insurance policies actually require you to take reasonable steps to prevent further damage while you wait for your claim to be processed. Temporary tarping over a damaged roof section is generally covered and expected. Just document what you do before you do it – take photos, note the date and time, and keep any receipts.
What you should not do is make permanent repairs before an adjuster has inspected the damage. That can give your insurance company grounds to reduce or deny your claim.
Step 5: Call a Roofer Before You Call Your Insurance Company
Most homeowners do this backward. They call insurance first, then scramble to find a roofer. The smarter move is the opposite.
A licensed local roofer in Austin can get on your roof safely, find damage you missed, and create a detailed inspection report with photos. That report becomes the evidence your claim is built on. Insurance adjusters are not always roofing specialists. They can miss hail bruises, fractured matting beneath shingles, and damaged underlayment. Your roofer’s documentation fills those gaps.
Once you have that report, then call your insurer and file your claim.
Navigating Your Hail Damage Insurance Claim in Texas
Texas homeowner insurance policies typically give you one year from the storm date to file a hail damage claim. That sounds like plenty of time. It isn’t. Damage gets worse. Evidence fades. Don’t wait.
When you file, have your storm date, your roofer’s inspection report, your photos, and any weather documentation ready. Your insurer will assign an adjuster to inspect the property. Request that your roofer be present for this visit. Having an expert advocate on-site ensures that nothing gets overlooked.
A few things specific to Texas that every homeowner should know. Your policy will pay out based on either Replacement Cost Value (RCV) or Actual Cash Value (ACV). RCV means they pay to replace what was damaged with new materials. ACV factors in depreciation – meaning you’ll get less. Review your policy now, before the next storm, so you know which one you have.
Also: Texas law makes it illegal for any contractor to waive or absorb your deductible. If a roofing company ever offers to do this, walk away. It’s a major red flag.
How to Choose the Right Austin Roofer After a Hailstorm
After a big storm, out-of-town “storm chasers” flood Austin neighborhoods. They knock on doors, offer deals, and disappear after they cash your check. Protecting yourself from this is simple – just know what to verify.
Any roofer working in Texas must be licensed through the Texas Department of Licensing and Regulation (TDLR). Ask for their license number and verify it at the TDLR website. A legitimate contractor will give it to you without hesitation.
Beyond licensing, look for a roofer with a permanent Austin-area address, verifiable local reviews, and direct experience handling insurance restoration claims. Ask whether they’ll attend the adjuster’s inspection. The best Austin roofers work with your insurer, not around them.
After Repairs: How to Protect Your Roof Long-Term
Once your roof is repaired or replaced, make it count. If you’re replacing after a hail event, ask your contractor about Class 4 impact-resistant shingles. These are rated for the highest level of hail resistance. Many Texas insurance carriers offer a 15–30% premium discount for homes with Class 4 roofing – which can offset a meaningful portion of the upgrade cost over time.
Schedule a professional roof inspection every spring before hail season starts, and again in the fall. Keep gutters clean and properly pitched. Trim tree branches that hang over the roofline. And if your roof is more than 15 years old, be especially proactive – older shingles absorb hail impact much more severely than newer materials.
Quick-Reference: Hail Damage Roof Checklist
Use this after every major Austin storm:
- Storm fully passed, no lightning, area is safe
- No downed power lines or gas odors present
- Ground-level roof scan complete with binoculars
- Gutters checked for dents and granule buildup
- Flashing, vents, and roof penetrations inspected
- Siding, windows, and exterior surfaces checked
- Attic inspected with flashlight for moisture or daylight
- All interior ceilings and walls checked for new stains
- All damage documented with photos, video, and storm date
- Emergency temporary repairs made if needed (and documented)
- Local licensed Austin roofer contacted for professional inspection
- Roofer’s inspection report in hand before calling insurer
- Insurance claim filed with full documentation
- Roofer scheduled to attend adjuster’s inspection
Conclusion
Hail damage doesn’t announce itself. It hides in soft spots on shingles, inside attic insulation, and behind ceiling stains that show up weeks after the storm. The homeowners who avoid costly repairs are the ones who follow a clear, methodical hail damage roof checklist – and act fast.
Austin storms aren’t going away. But knowing exactly what to do right after one hits means you stay ahead of the damage instead of chasing it.
At Altitude Roofs, we’ve helped Austin homeowners navigate storm damage, insurance claims, and roof repairs across Central Texas. If your home just came through a hailstorm and you’re not sure where to start, we’re here. Schedule your free roof inspection at altituderoofs.com – and let us do the heavy lifting.
Frequently Asked Questions
How long do I have to file a hail damage claim in Texas?
Most Texas homeowner insurance policies give you one year from the storm date to file a claim. That said, filing sooner is always better. Waiting gives damage more time to worsen and makes it harder to tie the cause directly to the original storm.
What size hail actually damages a roof?
Hailstones as small as 1 inch in diameter – roughly the size of a quarter – can damage asphalt shingles, especially on older roofs. Stones larger than 1.5 inches almost always cause measurable functional damage to any roof type. If hail dented your gutters or your car, your roof was almost certainly affected too.
Should I get on my roof to check for hail damage myself?
No. Wet or damaged shingles are slippery and potentially unstable after a storm. You risk injury – and you could accidentally worsen the damage in a way that complicates your insurance claim. Use binoculars from the ground, then call a licensed roofer for the hands-on inspection.
Will my homeowner’s insurance rates go up if I file a hail damage claim in Texas?
Hail damage is considered a “no-fault” weather event by most Texas insurers. In most cases, filing a claim for storm damage won’t directly raise your rates. However, multiple claims over a short period can affect your policy. Speak with your insurance agent if you’re uncertain about your specific coverage.
What’s the difference between cosmetic and functional hail damage?
Functional damage affects your roof’s ability to protect your home – cracked shingles, missing granules, broken seals around flashing. Cosmetic damage affects only appearance, like minor dents in a metal roof that don’t compromise performance. Insurance typically only covers functional damage, which is why having a knowledgeable roofer document your claim matters so much.