Skip to content
Getting a new roof can feel overwhelming. There are so many questions – how long will it take? Will my home be exposed to rain? What exactly happens up there? Roof replacement in Austin, understanding the process from start to finish helps you plan better, ask smarter questions, and feel confident about one of the biggest investments you’ll ever make on your home.
Austin homeowners face some specific challenges too. The brutal summer heat, UV exposure, and Central Texas hail seasons mean your roof works overtime year-round. Knowing what to expect makes the whole thing a lot less stressful.
Let’s walk through it together – step by step.
Should You Repair or Replace? Know Before You Call
This is the first question to settle. Not every damaged roof needs a full replacement.
A repair might be enough if the damage is isolated – say, a few missing shingles after a windstorm, or a small area of flashing that has lifted. But if the problems keep coming back, or affect a large portion of the roof, a full roof replacement in Austin is often the smarter long-term move.
Here are the clearest signs it’s time for a full replacement:
- Your roof is 20–25 years old (Austin’s heat ages asphalt shingles faster than cooler climates)
- You’ve had hail damage that covers more than 30% of the surface
- Shingles are curling, cracking, or losing granules in patches all over
- You see soft spots, sagging, or daylight through the attic
- Your energy bills have crept up and attic ventilation is poor
- Leaks keep returning even after repeated repairs
If you’re still not sure, start with a professional roof inspection in Austin, TX. A good inspector will give you a straight answer – repair or replace – without pushing you toward the pricier option.
The Roof Replacement Process: A Full Breakdown
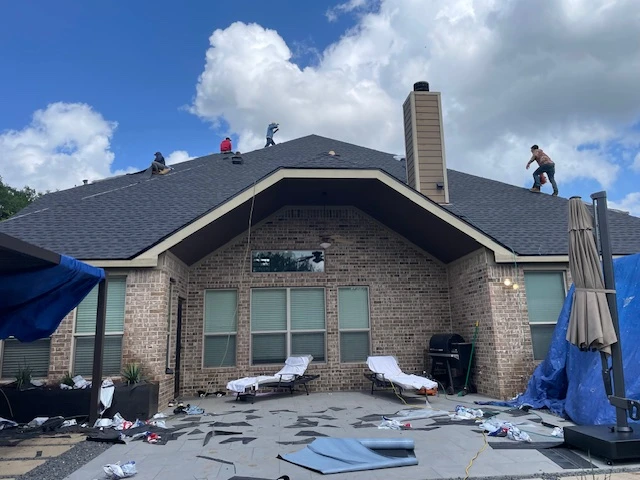
Here’s how the entire process flows, from first phone call to final walkthrough.
Step 1: The Initial Roof Inspection
Everything starts here. A roofing contractor will come out and assess the full condition of your roof. They’ll look at the shingles, the flashing, the gutters, the roof deck (the wood underneath), and the attic ventilation.
This isn’t just a quick glance. A thorough inspection catches problems you can’t see from the ground – damaged decking, poor airflow, weakened areas around chimneys and vents. Based on what they find, they’ll give you a written estimate and walk you through the recommended scope of work.
This step protects you. It means no surprises mid-project.
Step 2: Choosing the Right Roofing Material for Austin
Material choice matters more in Austin than in most cities. The heat, UV intensity, and hail risk all influence which materials hold up best here.
Asphalt shingles are the most common choice. They’re cost-effective and widely available, and impact-resistant versions (Class 4) can actually lower your homeowner’s insurance premium in Texas. Lifespan: 20–30 years in Austin’s climate.
Metal roofing is growing fast in Central Texas – and for good reason. It reflects heat rather than absorbing it, stands up to hail, and lasts 40–70 years. If you’re thinking long-term, it’s worth a serious look at metal roofing in Austin, TX.
Shingle roofing (architectural or dimensional shingles) offers a middle ground – more durability and curb appeal than basic 3-tab, at a reasonable price point. Learn more about shingle roofing in Austin, TX to compare your options.
Your contractor should help you match material to budget, roof pitch, and the specific demands of your neighborhood.
Step 3: Preparing Your Home
Before the crew arrives, a little prep goes a long way. Move vehicles out of the driveway so the dumpster can be placed close to the roofline – this keeps the job efficient and protects your yard. Cover valuables in the attic, since vibration from the work above can shake loose dust and debris. Bring in outdoor furniture and potted plants.
Let your neighbors know too. It’s considerate, and a roofing crew on a full replacement does make some noise during work hours.
Step 4: Safety Setup and Site Preparation
On day one, the crew sets up before a single shingle comes off. This means placing the dumpster, staging materials, and installing any necessary edge protection or scaffolding for safety. Good site management from the start protects your landscaping, your driveway, and the crew.
This is a construction site. A professional team treats it like one.
Step 5: Removing the Old Roof
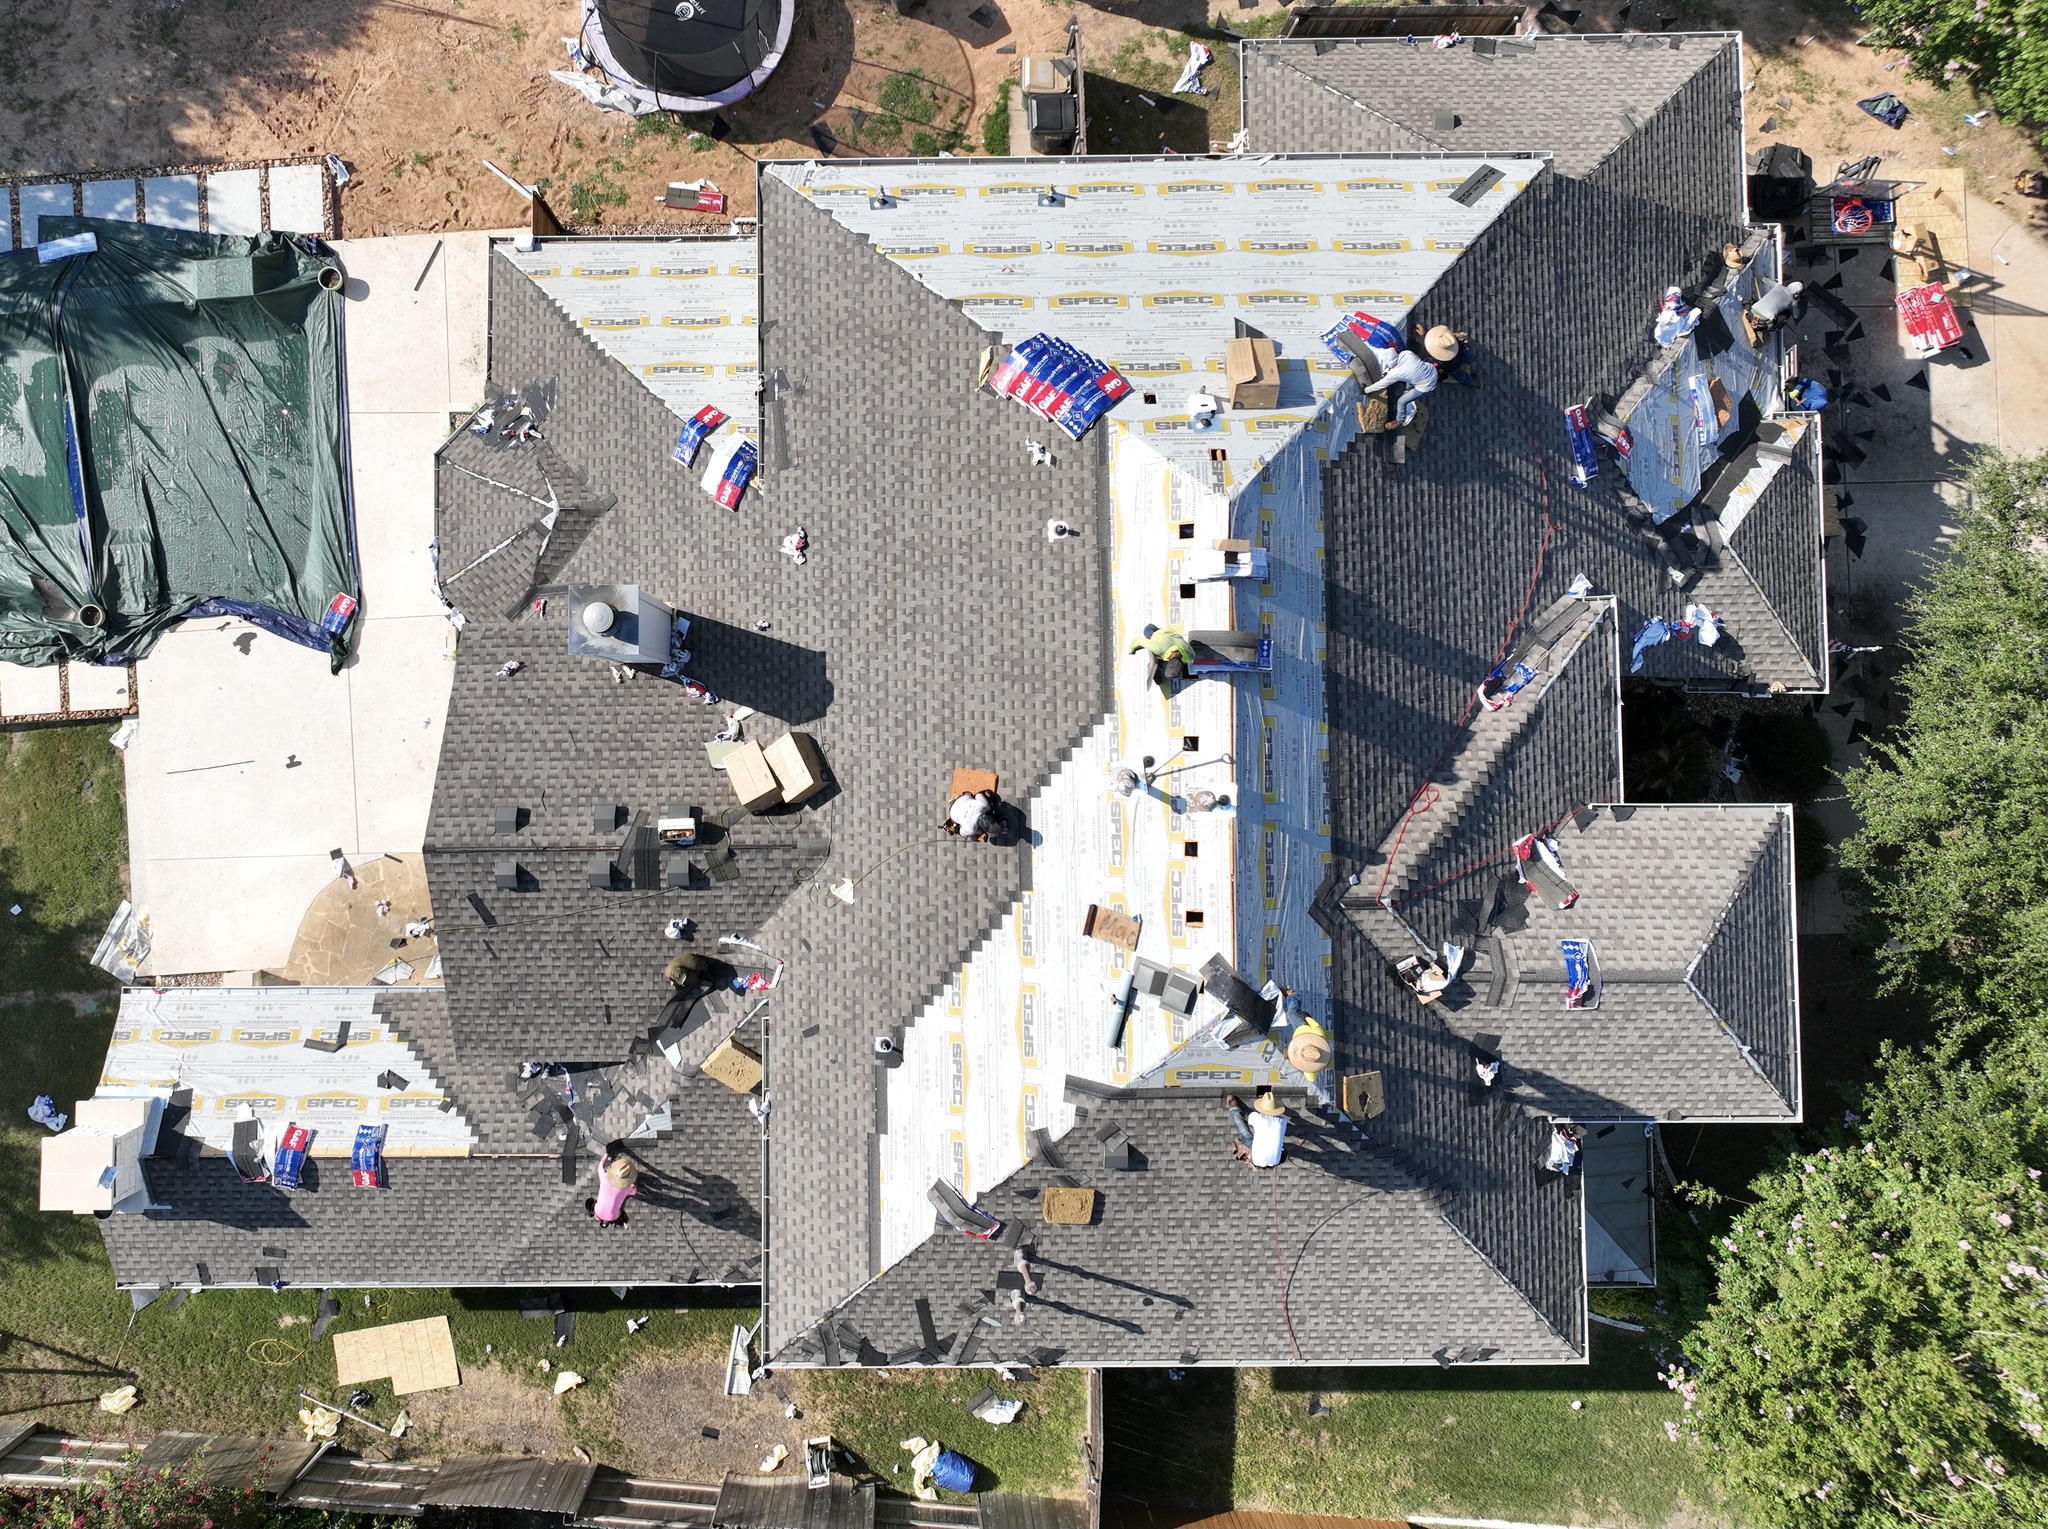
Now the actual work begins. The crew strips off the existing shingles, underlayment, and old flashing – all the way down to the bare wood decking. This full tear-off is important. Layering new shingles over old ones (called a “roof-over”) might save a little money upfront, but it hides problems and shortens the life of your new roof.
Where possible, a good crew works in sections – removing one section and installing the new material before moving to the next. This keeps your home protected even if weather rolls in unexpectedly. It also means you won’t have a completely exposed home at any one time.
Step 6: Inspecting and Repairing the Roof Deck
Once the old materials are off, the decking is visible for the first time. This is a critical moment. The contractor inspects every board for rot, soft spots, water damage, and structural weakness.
If problems are found – and in older Austin homes, they often are – the damaged sections get replaced before anything else goes on. Skipping this step is one of the biggest mistakes homeowners never know happened until leaks reappear.
Any reputable contractor will show you what they find and explain the repair cost before proceeding.
Step 7: Installing Underlayment, Ice & Water Shield, and Drip Edge
This is your roof’s second line of defense. Before any new shingles go on, the crew installs several protective layers.
Synthetic underlayment goes over the entire deck – it’s waterproof and far more durable than old felt paper. In valleys and along eaves, an ice and water shield is added for extra protection. After Winter Storm Uri, Austin homeowners learned the hard way that freeze events are real – this layer matters.
The drip edge goes along the roof’s edges to channel water into the gutters and protect the fascia from moisture damage. It’s a small detail with a big impact over time.
Step 8: Flashing Installation
Flashing is the metal barrier that seals all the vulnerable joints on your roof – around chimneys, skylights, plumbing vents, and walls where the roof meets a vertical surface. It’s one of the most common sources of leaks when done poorly or when old flashing is simply reused without inspection.
On a quality replacement, new flashing goes in around every penetration. This is not a place to cut corners.
Step 9: Installing the New Roofing Material
Now comes the visible transformation. Shingles are laid from the bottom of the roof upward, each row overlapping the one below for proper water runoff. Ridge vents are installed along the peak to allow hot attic air to escape – critical in Austin summers, where trapped heat can push cooling costs sky-high and shorten shingle life significantly.
Every fastener gets checked. Alignment gets verified. A quality crew doesn’t just cover the roof – they make sure it’s built to handle Central Texas weather for decades.
This phase typically takes one to two days on an average Austin home.
Step 10: Ridge Caps and Final Sealing
Ridge caps run along the peak of the roof and hip caps cover the angled ridges on multi-pitch roofs. They’re the finishing touch – both protective and aesthetic. Around every pipe, vent, and skylight, the crew applies proper sealant to ensure everything is completely watertight.
This is also where attic ventilation gets its final check. Proper airflow isn’t optional in Austin – it directly affects your energy bills and how long the new roof lasts.
Step 11: Cleanup and Final Walkthrough
Once the last shingle is in place, the crew sweeps the property with a magnetic tool to collect any nails that landed in the yard or driveway. The dumpster gets removed. Gutters and downspouts are cleared of debris. Your property should look better than when they arrived.
Then comes the walkthrough. Your contractor should walk you around the house, point out completed work, review the warranty (both workmanship and manufacturer), and answer every question you have. Ask to see photos of the deck and underlayment stages if the crew documented them – a good contractor will have them.
How Long Does Roof Replacement Take in Austin?
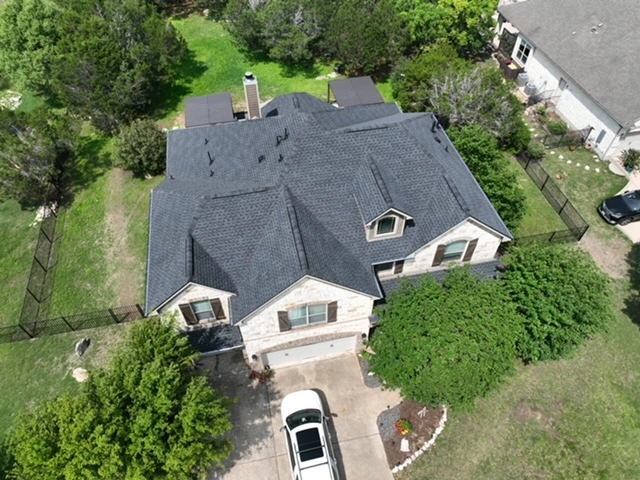
Most Austin homes are done in one to two days. Larger homes with complex rooflines – multiple valleys, dormers, skylights, or solar panels – can run three to five days. A few things can extend the schedule: deck damage that requires extensive repairs, an afternoon thunderstorm (common in spring and early summer), or a steep pitch that requires additional safety setup. A good contractor will set honest expectations from the start. We break the full timeline down day by day in our guide to how long a roof replacement takes in Austin.
Can You Stay Home During the Replacement?
Yes, in most cases. The work is almost entirely external, so your daily routine inside the house continues normally. You’ll hear noise – that’s unavoidable. Access to the driveway may be limited due to the dumpster.
Plan for a longer workday if you have a home office, young children, or pets that are sensitive to loud sounds. Otherwise, most homeowners stay home and report it’s less disruptive than they expected.
Does Homeowner’s Insurance Cover Roof Replacement?
It depends on the cause. In Texas, hail and wind damage from a specific storm event is typically covered under a standard homeowner’s policy. General wear and tear is not.
If a storm hits your area, document everything quickly. Get a contractor out to assess the damage before filing a claim – they can identify storm-specific damage that adjusters sometimes miss. Learn more about navigating a roofing insurance claim in Austin, TX so you go into the process prepared.
How to Choose the Right Austin Roofing Contractor
The right contractor makes the whole roof replacement process smooth. The wrong one makes it a nightmare. Here’s what to look for before you sign anything:
- Licensed and insured in Texas, with verifiable credentials
- Local experience in Austin (they understand Central Texas weather and local code)
- Strong Google reviews from real homeowners in your area
- Written, itemized estimates – not vague ballpark numbers
- Clear explanation of warranties, both labor and materials
Watch for red flags: contractors who appear only after major hailstorms and pressure you to sign fast, anyone demanding full payment upfront, or anyone who can’t show you proof of insurance. These are the storm chasers, and they’re unfortunately common in Central Texas after a big weather event.
You can see Altitude Roofs’ completed projects at our work gallery to get a feel for the quality and scope of what we do.

Maintaining Your New Roof After Replacement
A new roof is a big investment. A little maintenance goes a long way toward protecting it. Schedule a professional inspection every one to two years – especially after a significant hailstorm. Keep gutters clear so water flows freely off the roof. Trim tree branches that hang over the roofline; falling limbs are a common cause of damage. Check for missing or lifted shingles after any major storm.
That last point matters a lot in Austin. Spring hail season can arrive fast. A quick post-storm check – even just from the ground with binoculars – can catch small issues before they become big leaks.
Conclusion
The roof replacement process doesn’t have to feel like a mystery. When you understand each step – from inspection to final walkthrough – you know what to expect, what questions to ask, and how to spot a contractor who’s doing the job right.
At Altitude Roofs, we serve Austin homeowners and the surrounding communities including Dripping Springs, Driftwood ,Lakeway, Buda, and beyond. We walk every homeowner through the roof replacement process with honesty, clear communication, and quality craftsmanship built for Central Texas conditions.
Ready to get started? Contact us today for a free inspection and estimate.
Frequently Asked Questions
Q: How long does the roof replacement process take for an average Austin home?
Most standard Austin homes are completed in one to two days once the crew is on-site. Larger or more complex roofs can take three to five days.
Q: Can I stay in my home during the roof replacement process?
Yes, in almost all cases. The work is done entirely on the exterior, so your daily life inside continues as normal. Expect noise during work hours and limited driveway access while the dumpster is on-site.
Q: What roofing material works best in Austin’s climate?
Impact-resistant asphalt shingles (Class 4) are popular because they handle hail well and can lower insurance premiums. Metal roofing in Austin is growing in demand for its heat-reflecting properties and long lifespan. Your contractor should help you match the material to your budget and your roof’s specific conditions.
Q: What happens if the crew finds rotted decking during my roof replacement?
The contractor will stop, show you the damaged area, and explain what needs to be repaired before the new materials go on. Reputable companies won’t proceed until you’ve agreed to the repair scope and any additional cost. Skipping deck repairs leads to premature roof failure, so this step is never optional.